
Running Late
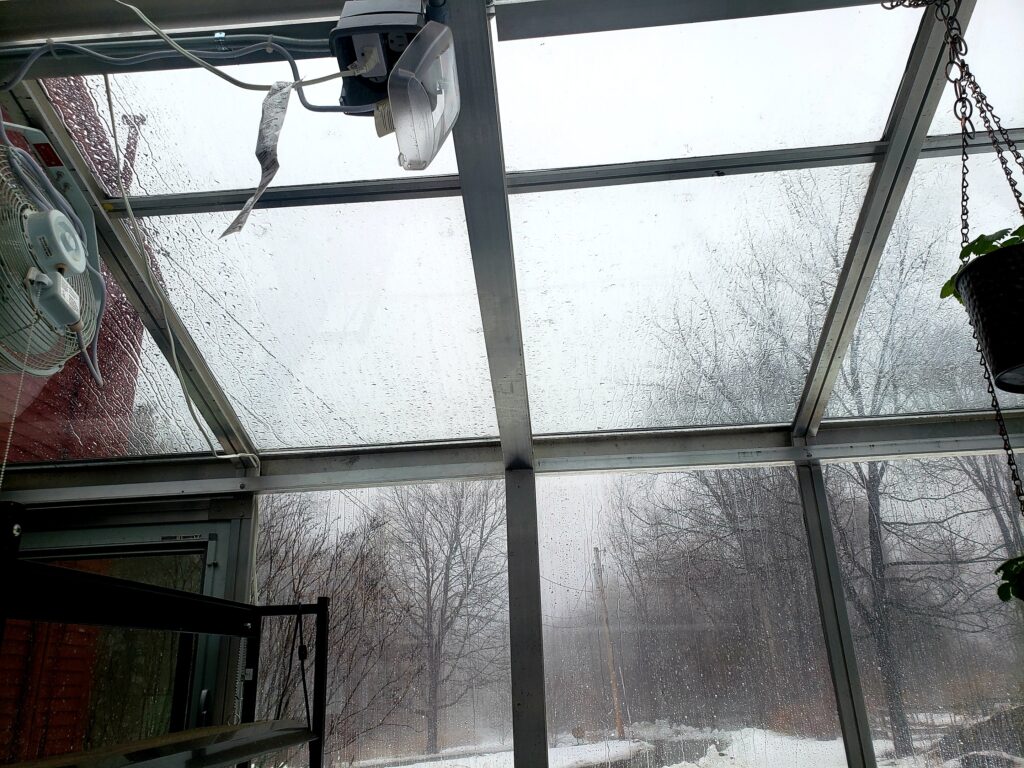
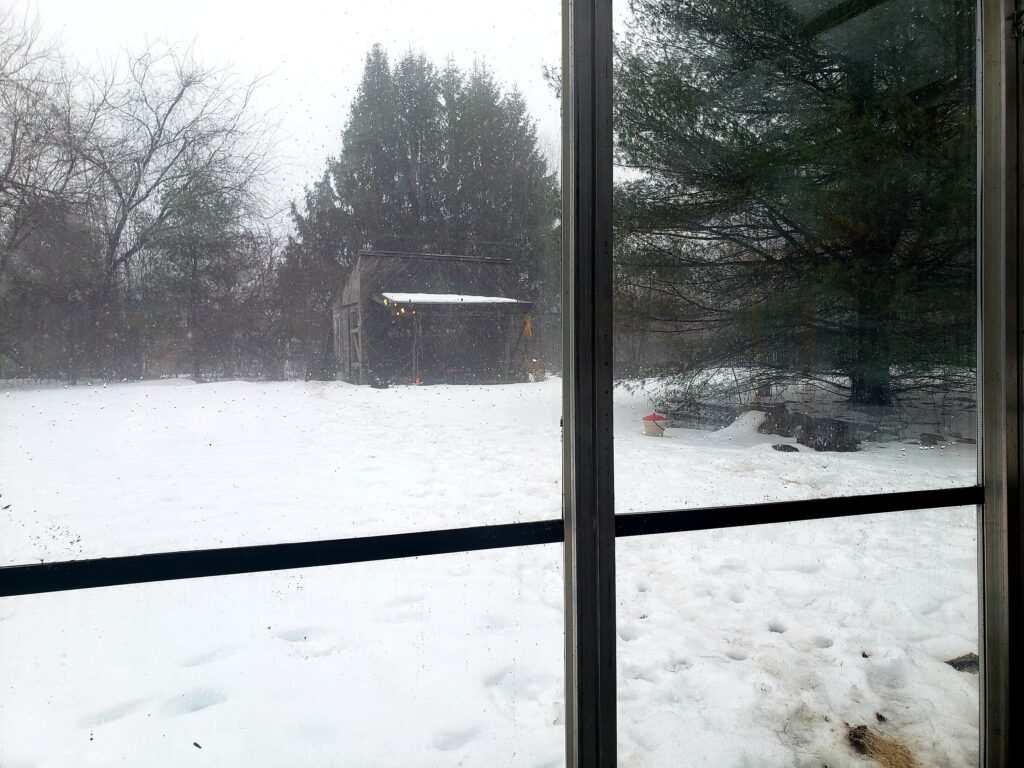
It was not warm today. It was warmer than it has been of late. It was wet, the fog, the pride of New England, rising off the gradually fading snow I was treasuring like precious pearls strewn on the ground. The last few years have been snowless. One overly warm winter, divested us of our precious Wisteria flowers on the back patio. That Wisteria means so much to us. It’s short lived beauty cuts right to the heart. The fragrance lights up the soul as a fire fly might light up the twilight at the edge of a thick deciduous forest. There is a hiraeth deep in our spirits that lays like a shroud when we are deprived of our precious Wisteria. The wet ate at everything to such a degree that inside, I lit a small fire in the wood stove to combat the damp mild chill. How I longed too sit in the dry warmth of the fire today.
But, I had to pull out my homesteader “sisu,” and face all that needs doing, Not easy when everything in your being tells you it is too icky to do much of anything beyond napping by the wood stove. You summon your inner moxie, a bit like Aleister Crowley, summoning his demons. You seek and find the demon moxie, somewhere deep down inside yourself, where it groans as you drag it from the comfort of the fire. You must be strong enough to stand up to the absolute wretchedness that you feel a part of as soon as you get to work in your little glass house. The place where seeds get planted and a winter garden thrives through the coldest part of the year. It’s hard on days like today…
One of the most difficult things about the homesteading lifestyle…. Gradually, becoming part of the place. Part of the homestead. Part of the rain dripping from the sky and raising mist off the snow. Part of the mist rising into the grey sky. Part of the damp chill and the pervasive grey all around you. In the house of glass, the rain doesn’t touch you. But the grey misery of the sky surrounds and engulfs you. There is no way to shut it out in a structure that is transparent.
Most of what you have on a small homestead farm, are the things you take the time and put in the energy to create and provide for yourself. As usual, I am running behind, so much needs me and never enough time to be everything for every needful thing. While I am behind, it is nowhere near as badly as last year… Last year was a mess and a disaster for reasons that don’t deserve our time. This year, while still imperfect, large improvement was made on timing. My longing for a seat cozy by the wood stove had to wait. I had work that is a bit over due to get going on. It is time to start or even late to start my starts for the spring garden. I like to start in the second week of February.
Everything as I have said before involves planning. Seed starting is no different. You start ahead of time if you are wise, you pick what you want to grow in December. Do your ordering over the Christmas holidays. This is step one. Step two, involves obtaining a note book in which you will be able to keep track of what you planted and when. I also sometimes take notes about what I did when like when I feed my baby plants and how they are reacting. It helps me for the following year gathering my observations of how they are doing this year. Invest in some water proof sticky tags and a pen with water proof ink so you can label the planters you use with what is in them while doing your seed starting. Lastly invest in some nice empty plastic spray bottles that you can fill with water later. Then you wait till the end of January. Sometime around thennish, the seeds arrive in the mail. You put them to the side. Your focus is on your plant holding containers. Next up, get a big canister of vinegar. Pour it in a large bucket. I like to fill my bucket about 20% of the way with vinegar. I finish filling it with water. Then my containers all take baths in this solution in my bucket. This sterilizes my tools. I let them soak for about 15 minutes totally submerged. Then, I get them out and spray them down well with the greenhouse hose to rinse away the vinegar. At this point, I have my husband go to a gardening store, or even the local Loews, to obtain Seed Starting mix. This is not your standard potting soil! We get an organic one. Yes you can make this at home yourself and perhaps in another article one day I will share the method for that. But if you do it that way, you also must sterilize your starting mix, which means probably time in the oven…. I prefer not filling my oven with what I plant seeds in, myself.
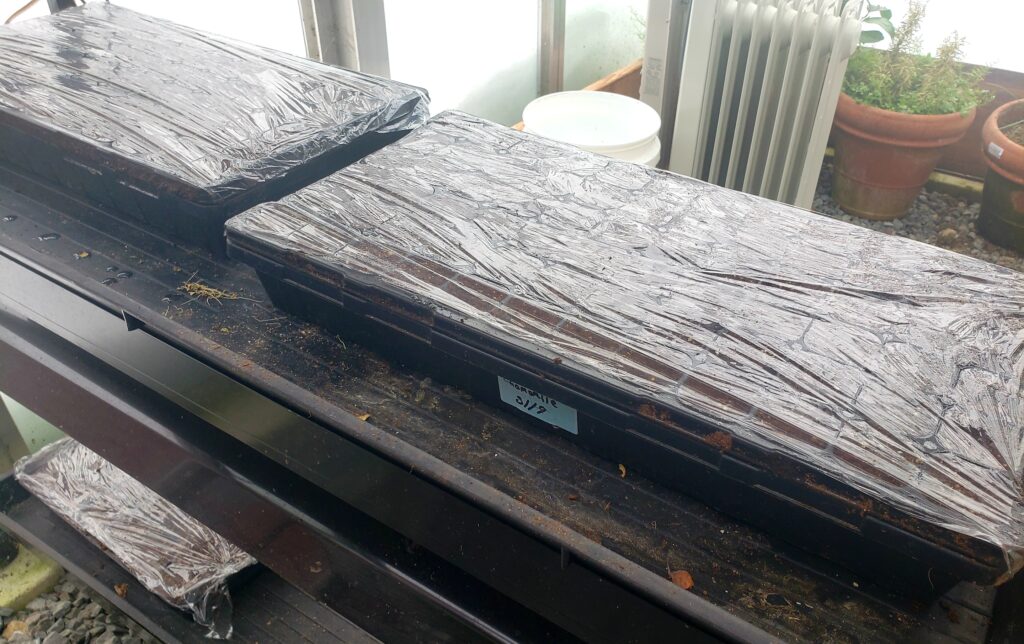
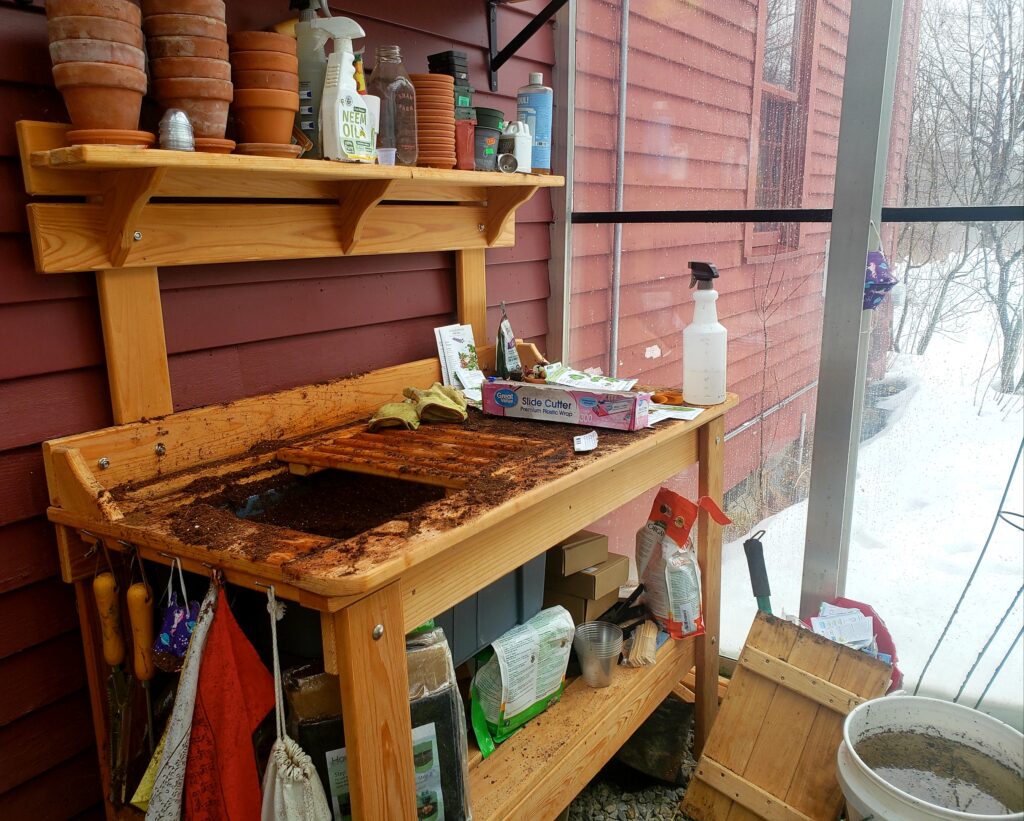
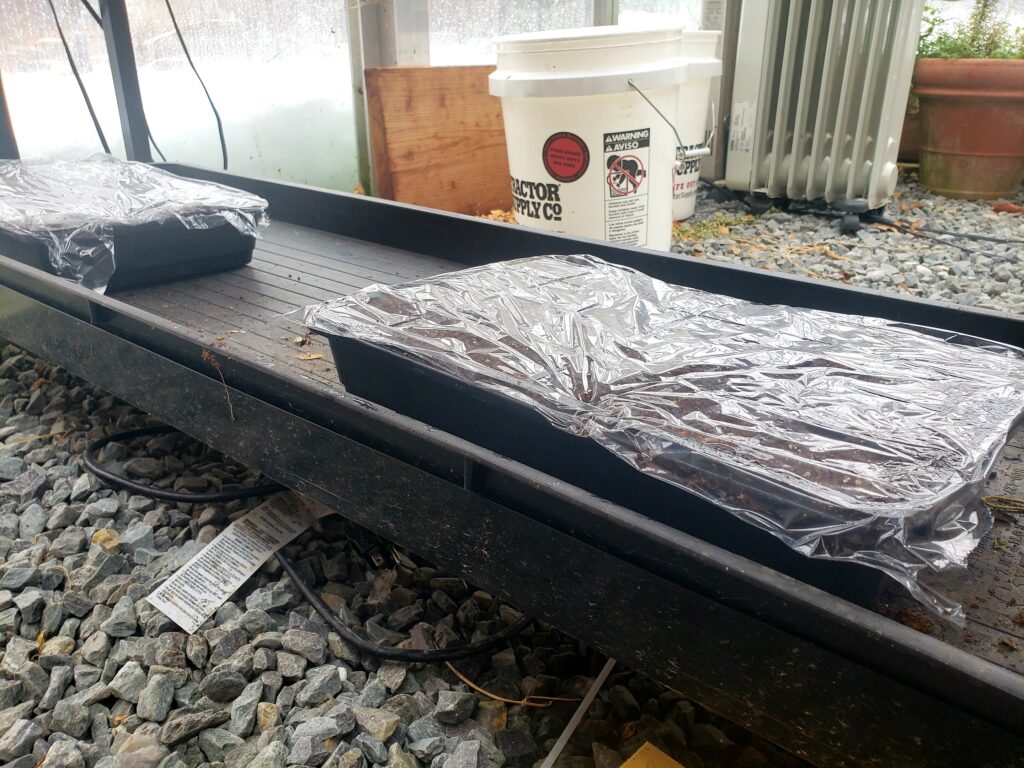
A good potting bench, will have a “sink” or a plastic bin of sorts on one side that you can keep filled with potting mix. You pour your starter mix in that basin. Then beside it you place your clean sanitary containers. You fill the cups in the containers with starter mix from the basin. Plant the seeds into each cup. The smaller the seed the shallower you plant it. But even the large bean seeds don’t like being planted particularly deep in starter containers. Take a moment to note the date and what you planted in the notebook and to label the container with the name of what it contains. Spray just 3-5 small squirts with water from your spray bottle into each planted cup of your planted container. I like to cover my tray with saran wrap to help keep the moisture in. Then I set it on a shelf with lighting above it. I keep the lighting low a few inches over my container. As my starts grow I will raise the light. Raising it too high too early can result in leggy plants that have expended too much energy growing too early. They often don’t do as well when planted into the outside garden. So I raise the light a little at a time. Just enough so that it isn’t going to burn the delicate leaves. Another important thing to do, is to spray them with just a couple squirts from the spray bottle into each container cup twice a day every day until they are a few inches tall, at which point you can just add a half inch to an inch of water to the basin they drain into that the tray of starts sits in on the shelf. Drain you say? Yes. Drain. Good containers have a hole or more in the bottom to let excess water out and to allow starter mix to suck up excess water for the young starts to drink as they grow. I usually feed my plants a tiny bit at about week 4 or 5. Most plants don’t like or do well with early feeding. I also feed them regularly once I put them in the spring garden outside.

A note about containers…. You can use just about anything with a drainage hole that is plastic and sometimes even non plastic can be fine. I personally, have a vendetta against single use plastic in the greenhouse. I see trays of cops at various garden stores and often online that are made of flimsy single use plastic. The pricing is right… But the cost of single use plastic is too high. It is impacting our oceans and sea life. We are finding micro plastic inside everything now including our own bodies. The cost the planet pays so we can live cheaply is something all of us should be deeply ashamed of participating in creating. For this reason, I am going to recommend what I use. Bootstrap Farmer, creates containers and trays from higher quality plastic that is heirloom quality that your children may use after you are gone. These containers are still flexible enough for the purpose they serve and can be used over and over for decades to come if you take care of them. For me, investing in reusable is worth the added hit to my wallet to take the pressure off a planet that has been abused enough.
Starter plants, need on average of 6 to 8 weeks indoors to get started. They should sprout before too long but it can take a little bit and doesn’t usually happen over night either. Some things take longer than others to begin to come up. So patience is necessary. Once you hit the 6 to 7ish or even 8 week mark, you begin a process called “hardening off.”
Hardening off, is done by taking your healthy of age container/s full of starts outside for a couple of hours to help them acclimate to the climate outdoors. I usually do 2 hours the first day. Double it the second and double again. After a few days you can leave it out over night. At that point, those starts can go in the ground. They are ready for planting.
I organize my starter plants into 2 categories. Warm weather crop and cool weather crop. Lettuce would be a cool weather crop as would be beans and peas, while cucumbers and tomatoes would be hot weather crops as would peppers….
I garden in phases. While still living on the indoor winter garden I am starting and growing the plants for early planting (cool weather crops,) in the spring garden. In mid march, I start the warm weather crops in the greenhouse. I am still living on the second wave of the winter garden. Once in the spring garden I am still eating from the winter garden in the greenhouse until they start producing. At the same time I am planting the spring starts cool season crops, I am also planting the root vegetables direct in the ground as seeds. I am also putting in seeds of many of the cool season crops direct in the ground. This way, when my winter garden dries up my starts are producing and the seeds I planted are sprouting and growing and when my starts stop producing the seeds I planted outdoors will be producing. And sometime while I am eating my first wave of cool season starts, I am planting my now hardened off hot weather plants. I leave space so I can plant direct another round or two through the summer months usually cool season and root vegies. because by the time they are producing it is beginning to cool again. While I am planting them later in the summer late July, or even in August, I am also back in my greenhouse starting the starts that I will plant in the large indoor raised bed where the winter garden lives. In september, I will move them from containers to the large indoor raised bed. By the end of the autumn harvest in the outside garden, they will be nearly ready to produce or just starting to. I will also plant seeds just as I did in the spring garden to get another wave. While those seeds grow I will be starting the next wave in containers again and planting seed when I put those in the indoor raised bed, for the last time over the winter months…. About the same time as I am starting the spring starts! Everything on a homestead has a cycle. The job of a homesteader, is to plan and cycle, just about everything and to maintain everything within it’s stage of the cycle. Yes it is a lot of work! So when do I have time for canning? hahahaha Now you are starting to get it!
Homesteading is endless and chaotic work! You can see how messy my greenhouse is right now and my potting bench. This is a real way of life. An ongoing cycling, never ending way of life made from alarming amounts of labor. One must prioritize. I clean when I can find time in there. This is what busy homestead life actually looks like in the greenhouse.
Well, thank you for reading
and for joining me late at night the only time I seem to have time to write.
So I hope I didn’t botch this post too much since I got up early and am a bit tired.
Amanda of Wildflower Farm